Pages and the site tree
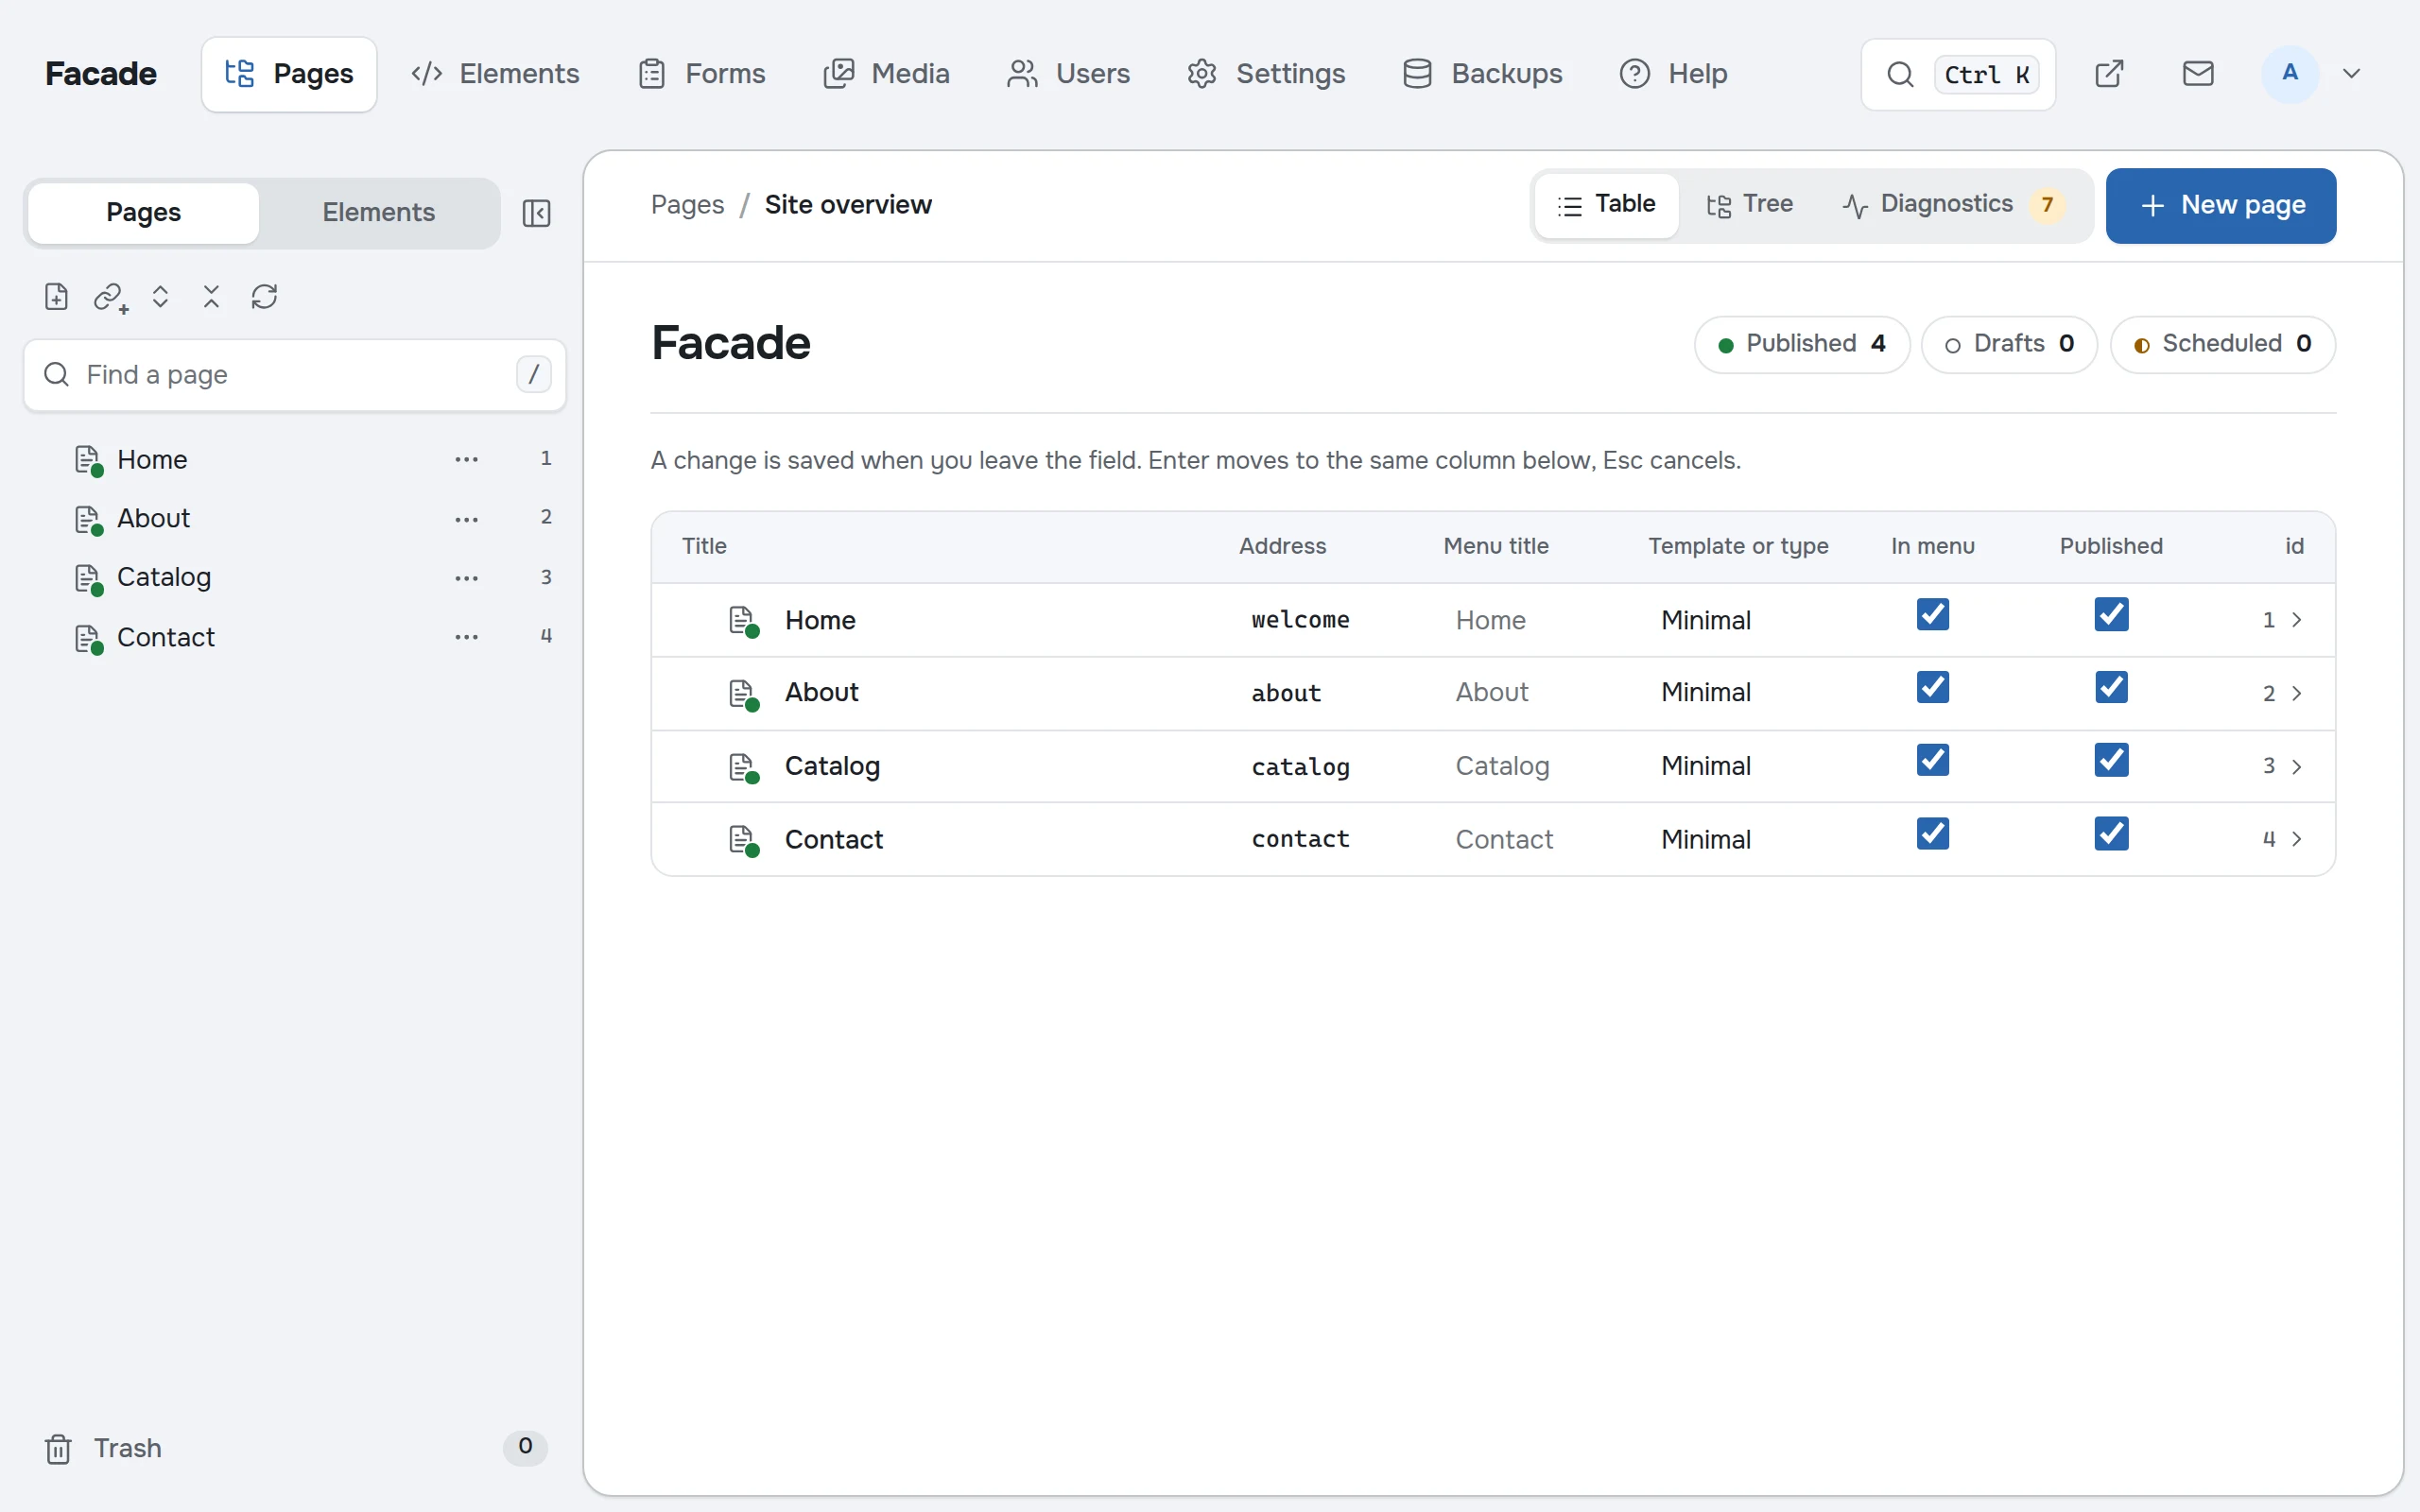
An Eile site grows like a tree: every page has a place, an address and a number. Let’s create the studio’s pages and publish them.
How the tree works
A site is laid out like the table of contents of a book, with sections inside chapters and subsections inside sections. There are top-level pages, and they can hold pages of their own. For example, the kitchen pages will live inside Catalog.
A page inside another page is called a child page, and the page that holds it is its parent. The address depends on the place in the tree: the Olive kitchen inside Catalog will open at /catalog/olive.
Every page has a number, the id. It never changes, even if you rename or move the page. Templates and links use this number to find the page.
The home page
The tree has one page so far, “Welcome”. It is the home page: the site shows it at the address /. Let’s turn it into the studio’s home page.
- Click “Welcome” in the tree. The page editor opens on the right.
- In the Title field, type “Home”.
- Delete the page text and write your own, for example: “We build kitchens to order, made to your measurements. We come out to measure, draw up a design and assemble the kitchen ourselves.”
- Click Save or press Ctrl+S (⌘+S on a Mac).
Refresh the tab with the site. The text has changed. The Minimal template is very plain, so for now the page looks like an ordinary document. We’ll make it look good in the next chapter.
The home page address is still welcome. You don’t need to change it: the home page always opens at /, and which page is the home page is set in Settings.
A new page
Let’s create a page about the studio.
- Click New page on the overview, or the sheet-with-a-plus icon above the tree.
- Type the title: “About”. Look at the Address field: it has filled itself in with
about. - Write a couple of paragraphs about the studio. Press Enter to end a paragraph.
- Click Save.
The page is saved, but it isn’t on the site yet: it’s a draft. Draft titles in the tree are in italics. Open localhost:8080/about, and the site will tell you there is no such page.
Click Publish in the bar above the page. Now the address opens.
The page address
The address is built from the title until you change it by hand. It can contain only the letters a to z, digits and hyphens. A short address is easier to read out over the phone: a title like “Our work and what clients say about the studio” is better shortened by hand to work.
If you change the address of a page that is already published, the old address keeps leading to it. Links you’ve already sent to someone won’t break.
The other pages
Create and publish two more pages the same way:
- “Catalog” with the text “The kitchens we make most often. We’ll adapt any of them to your measurements and color.” The address fills itself in:
catalog; - “Contact” with the address
contact. Any text will do for now: we’ll add the studio’s address and phone number in chapter nine.
Pages appear in the tree in the order you created them. Later, the same order becomes the order of the site menu. Drag “Contact” with the mouse if you want to put it somewhere else.
If you no longer need a page
The page menu (right-click a row in the tree, or use the three-dots button) has a Move to trash item. The page disappears from the site together with all pages inside it, and you can restore it from the trash at the bottom of the tree. Only Empty trash deletes pages for good.