A form: measuring visit requests
A visitor leaves their name, phone number, address and a convenient date, and the request arrives in the manager and in Telegram. We’ll build the form without writing any code and put it on the contact page.
Build the form
- Open Forms in the manager header and click New form.
- Title: “Measuring visit request”. The name for placing the form on a page is built from the title automatically.
- Click Create.
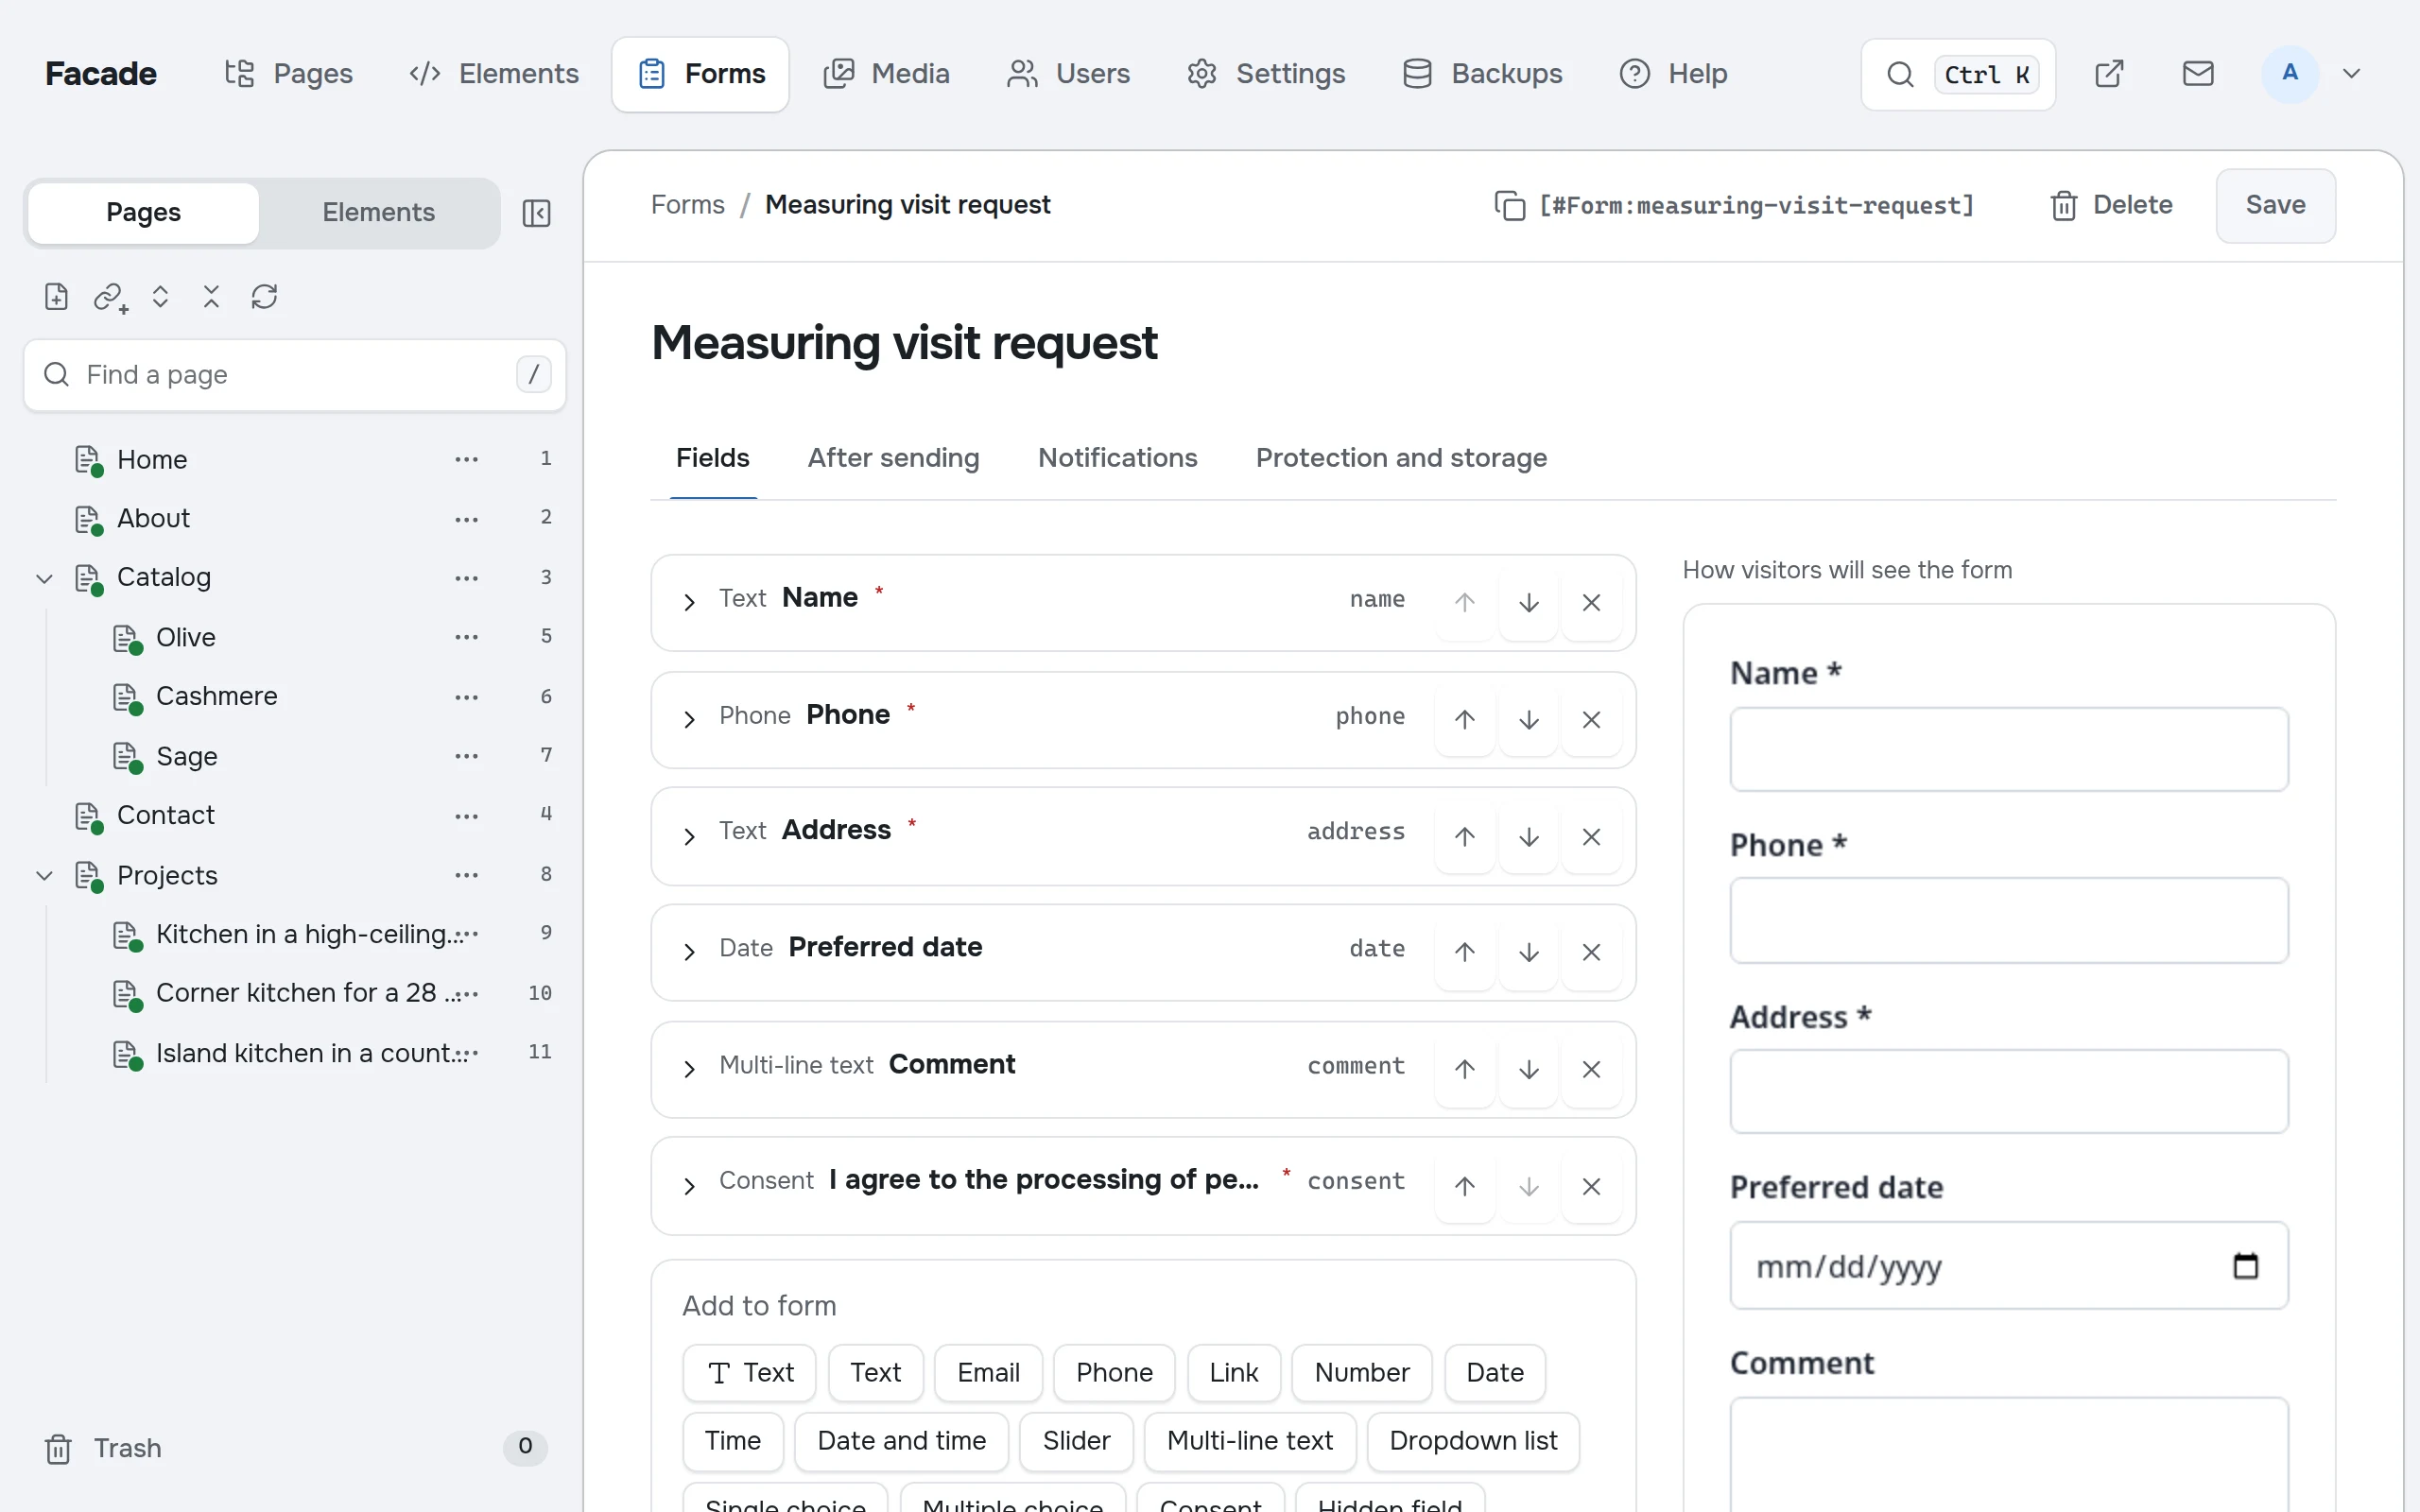
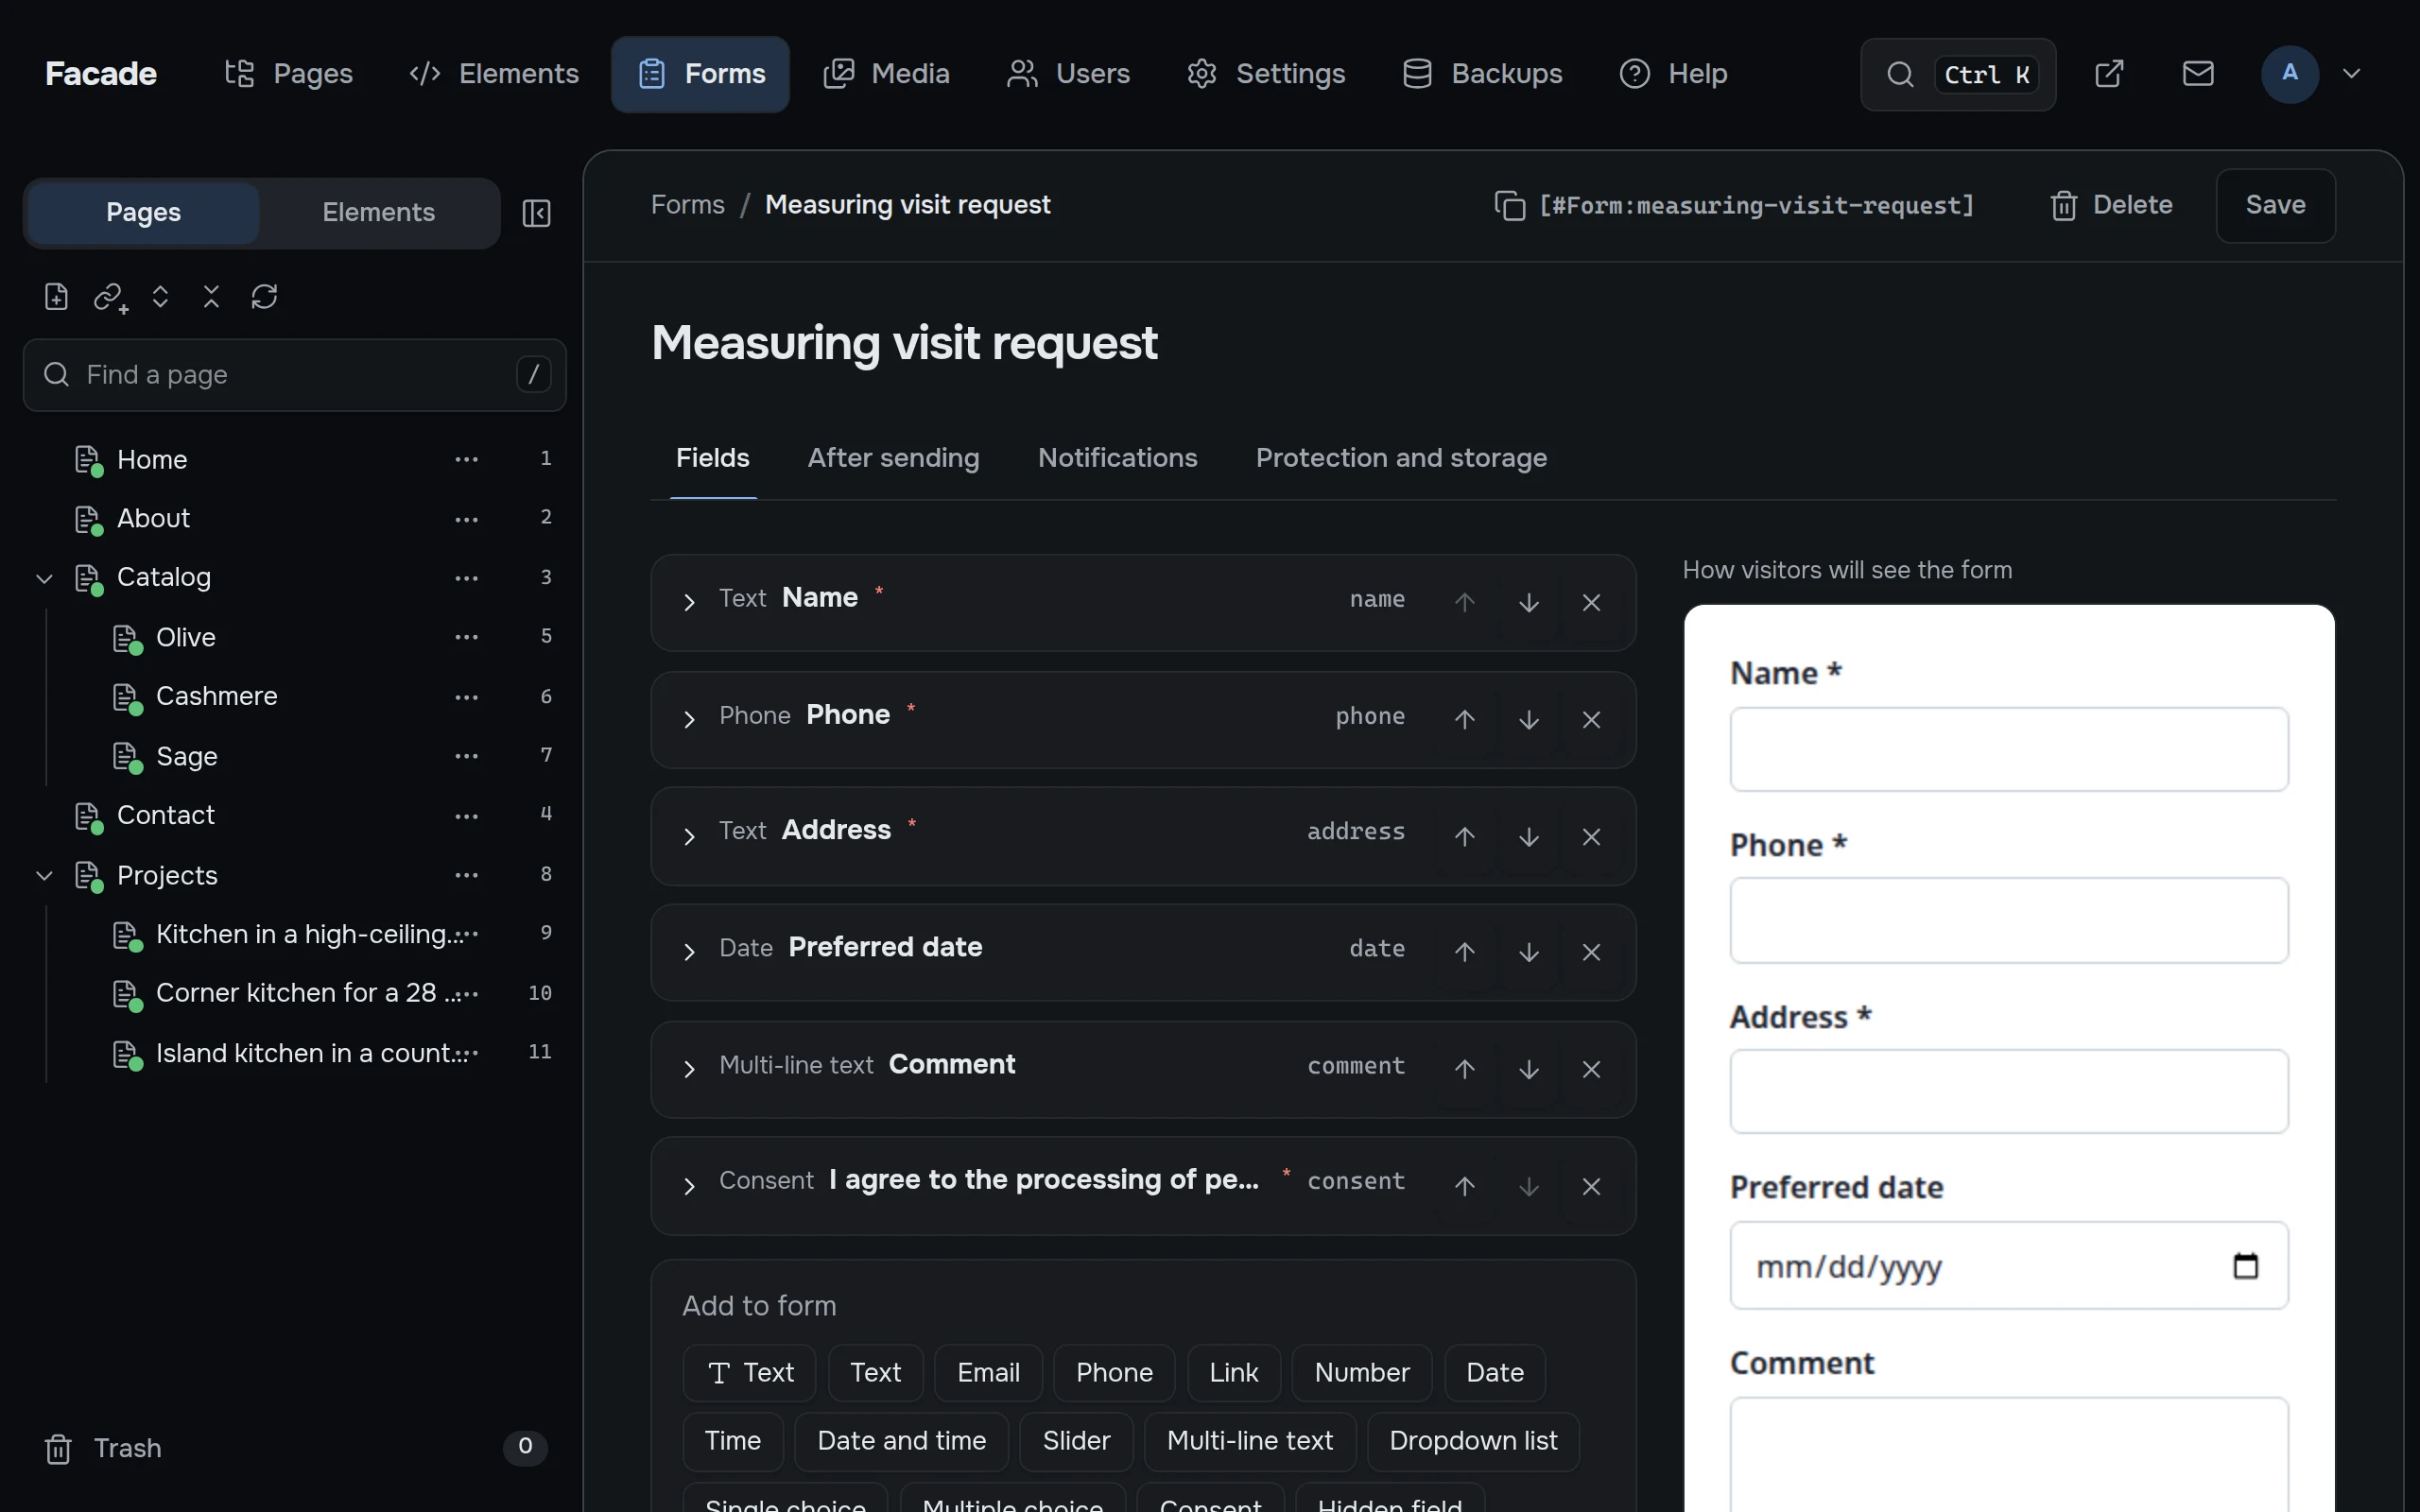
The form starts with a ready set of fields: name, phone, comment and consent to data processing. On the right you can see the form the way a visitor will.
Below the fields there is an Add to form block with a button for each field type. Click Text, then Date. Click a new field to open its settings:
- give the text field the label “Address” and check “Required”: whoever comes to measure needs to know where to go;
- give the date field the label “Preferred date”.
You can reorder fields with the arrows: put the address and the date right after the phone. Keep the consent field. A site that collects names and phone numbers needs the visitor’s consent to process that data.
On the After sending tab, write what the visitor will see: “Thank you! We’ll call you back within an hour to arrange a time for the measuring visit.” Save the form.
Put it on a page
Open the Contact page. Below the text, click Add block, choose Form and pick “Measuring visit request” from the list. Save.
In the page HTML, a form block is the tag [#Form:form-name]. You can also type it by hand: the editor of each form shows its tag at the top, next to a button that copies it.
The form takes the site’s colors from the CSS variables --t-accent and --t-radius. Let’s set them in the frame so the button turns graphite, like the other buttons on the site. Replace the code of the Layout component:
<!-- @component
Site frame: tab title, header, footer and shared styles. The template puts its own part inside.
-->
<script>
  import Footer from '$components/Footer';
  import Header from '$components/Header';
  import { site } from '$core';

  let { page, children } = $props();
</script>

<svelte:head>
  <title>{page.longTitle || page.title} — {site().name}</title>
</svelte:head>

<Header />

<main>
  {@render children()}
</main>

<Footer note="kitchens made to your measurements" />

<style>
  :global(:root) {
    --t-accent: #1f1e1c;
    --t-radius: 0.75rem;
  }

  :global(body) {
    margin: 0;
    background: #f1efeb;
    color: #1f1e1c;
    font: 18px/1.6 system-ui, sans-serif;
  }

  :global(h1) {
    font-size: 2.75rem;
    line-height: 1.05;
    letter-spacing: -0.02em;
  }

  :global(img) {
    max-width: 100%;
    height: auto;
  }

  main {
    max-width: 48rem;
    margin: 0 auto;
    padding: 0 1.5rem 2rem;
  }
</style>
The only new part is :global(:root) { … } at the start of the styles: variables for the whole page.
Requests
Open Contact on the site, fill in the form and send it. The form works without JavaScript, and when JavaScript is available, it sends the request without reloading the page.
In the manager, the envelope in the header now shows the number 1. Click it to see the new request. It has everything the visitor filled in, the page they came from, and Call and Email buttons. Mark the request In progress when you call back, and Done once the measuring visit is booked.
Notifications in Telegram
- In Telegram, send the command
/newbotto @BotFather and choose a name. It sends you a token: a long string with a colon in it. - Open your new bot and send it anything, for example “hi”. Until you do, the bot can’t message you first.
- In the manager, open Settings → Notifications, paste the token and click “Find chats”. Choose your chat and save.
Send one more request from the site: it will arrive in Telegram. The site will also write to you there if something breaks.